Eduzz
How to configure a Webhook in the Developer Hub
Step-by-step guide — Eduzz · Developer Hub
This guide explains how to migrate and configure integrations via webhook using the Eduzz Developer Hub (MyEduzz), from accessing the platform to creating and testing the configuration.
Before configuring the webhook in the Developer Hub, create an Entry URL in Mentorfy. Go to Integrations > Entry, click + New URL, select Eduzz as the payment gateway, choose the products and/or categories to be unlocked, click Create and copy the generated URL.
See the full step-by-step at How to create an Entry URL.
Step 1 — Access the Webhooks section in MyEduzz
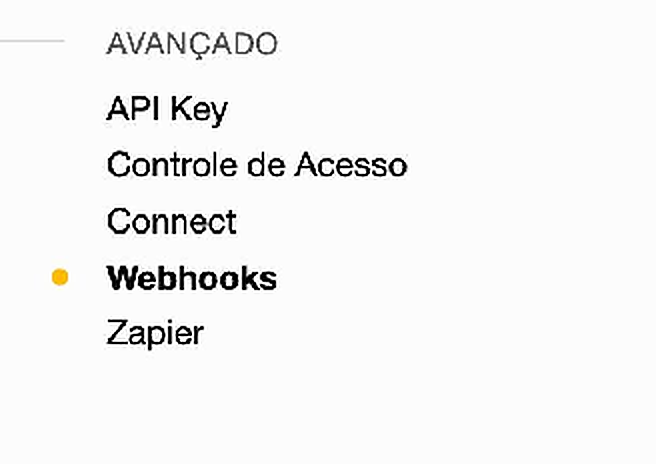
In the MyEduzz dashboard, access the left sidebar menu, scroll to the Advanced section and click Webhooks.
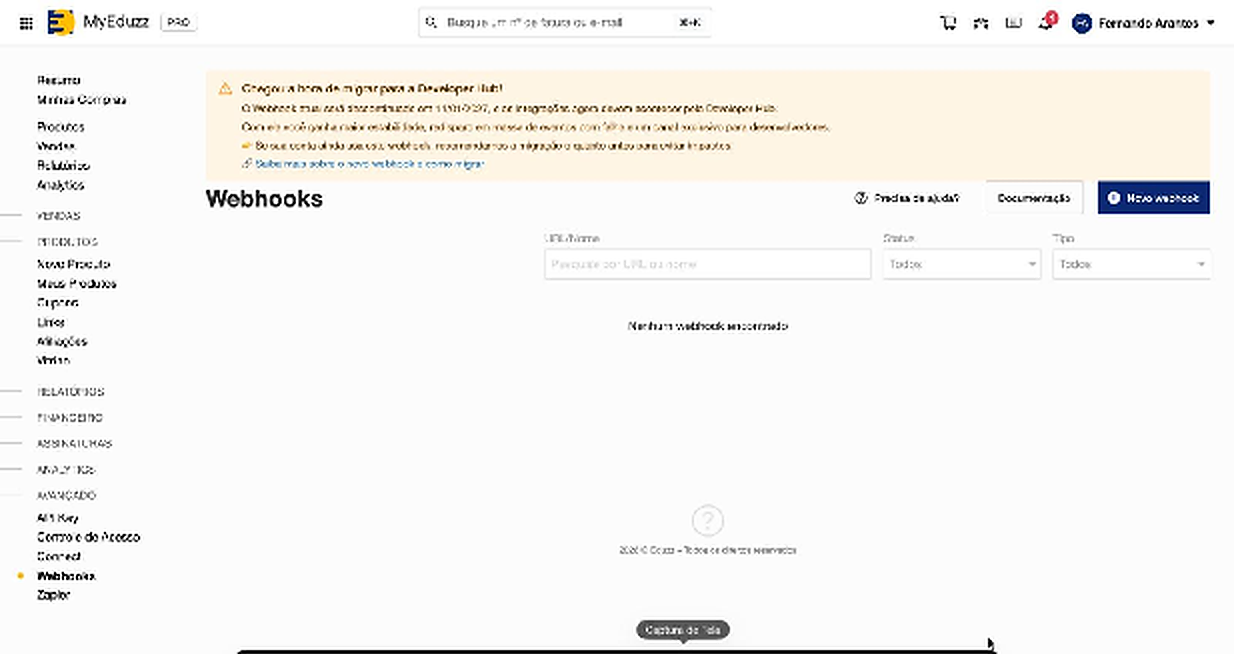
⚠ The current webhook will be discontinued on 01/11/2027. Migrate to the Developer Hub as soon as possible to avoid impacts on your integration.
Step 2 — Access the Developer Hub via the migration banner
On the MyEduzz Webhooks screen, a yellow warning indicates the need to migrate. Click "Learn more about the new webhook and how to migrate" or access the Developer Hub directly.
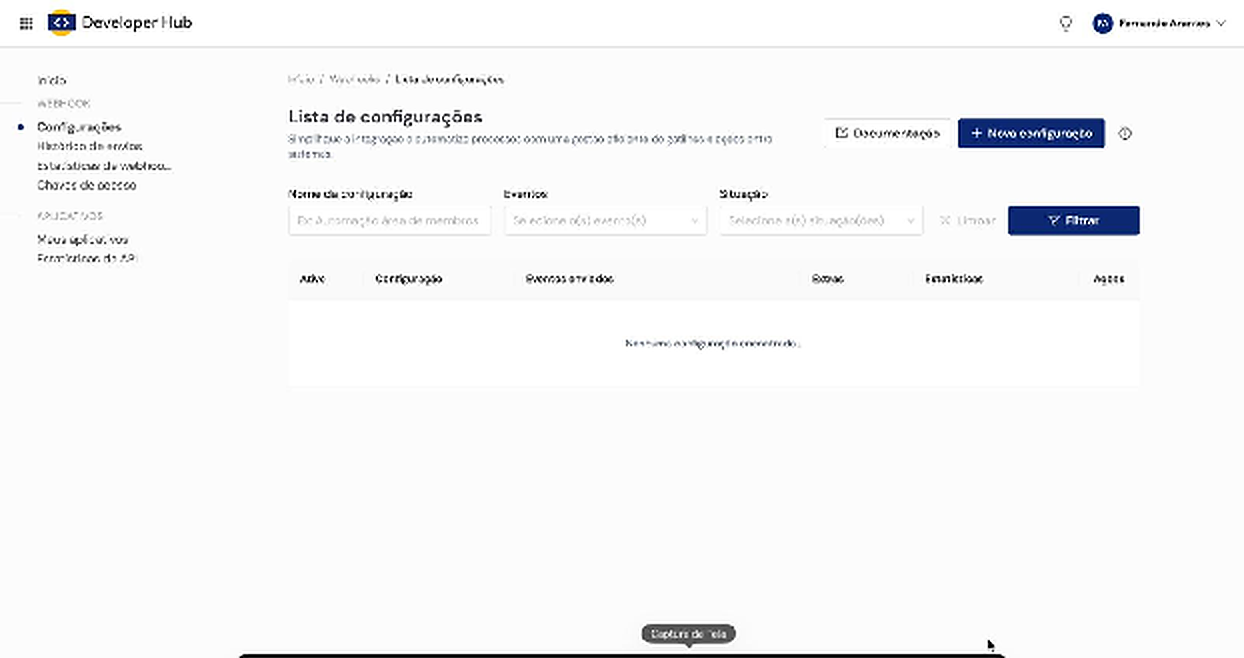
✔ In the Developer Hub, navigate to Webhooks → Settings in the sidebar menu to manage your integrations.
Step 3 — Create a new Webhook configuration
On the Developer Hub Configuration List screen, click the "+ New configuration" button in the upper right corner of the page.
Step 4 — Fill in the configuration details
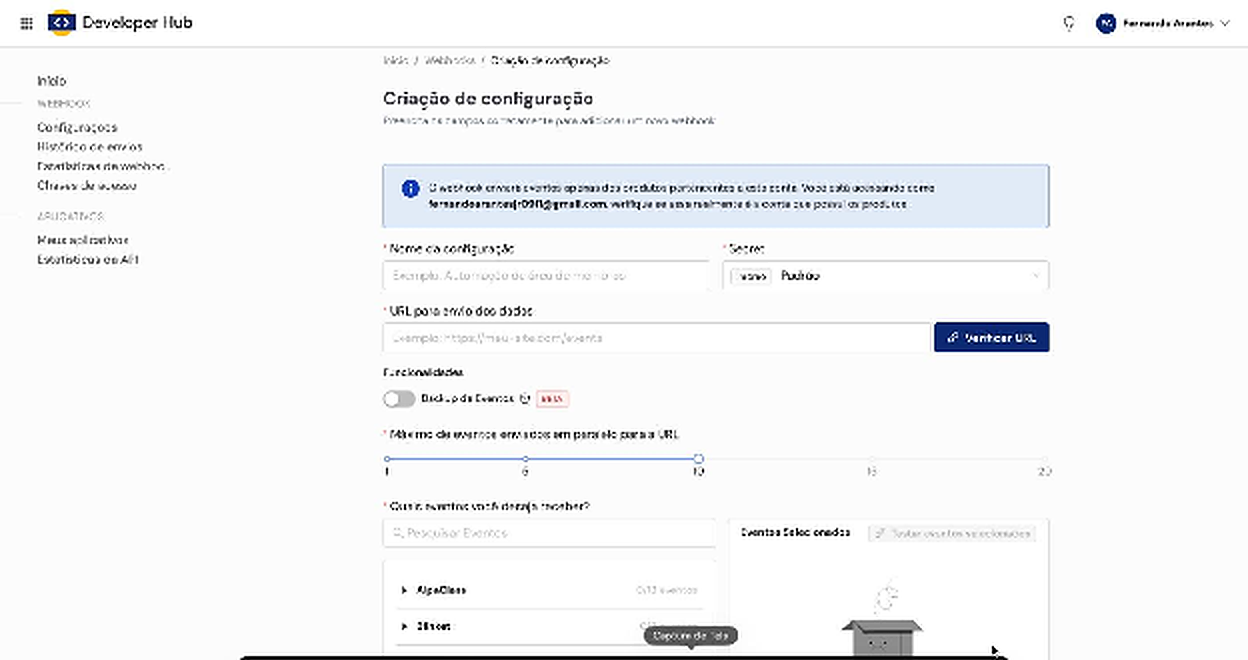
On the Create configuration screen, fill in the following required fields:
- Configuration name — e.g.: testementorfy
- URL for data submission — paste the Entry URL copied from Mentorfy
- Maximum events sent in parallel to the URL — use the slider (default: 10)
- Secret — keep the default or configure as needed
Step 5 — Verify the URL
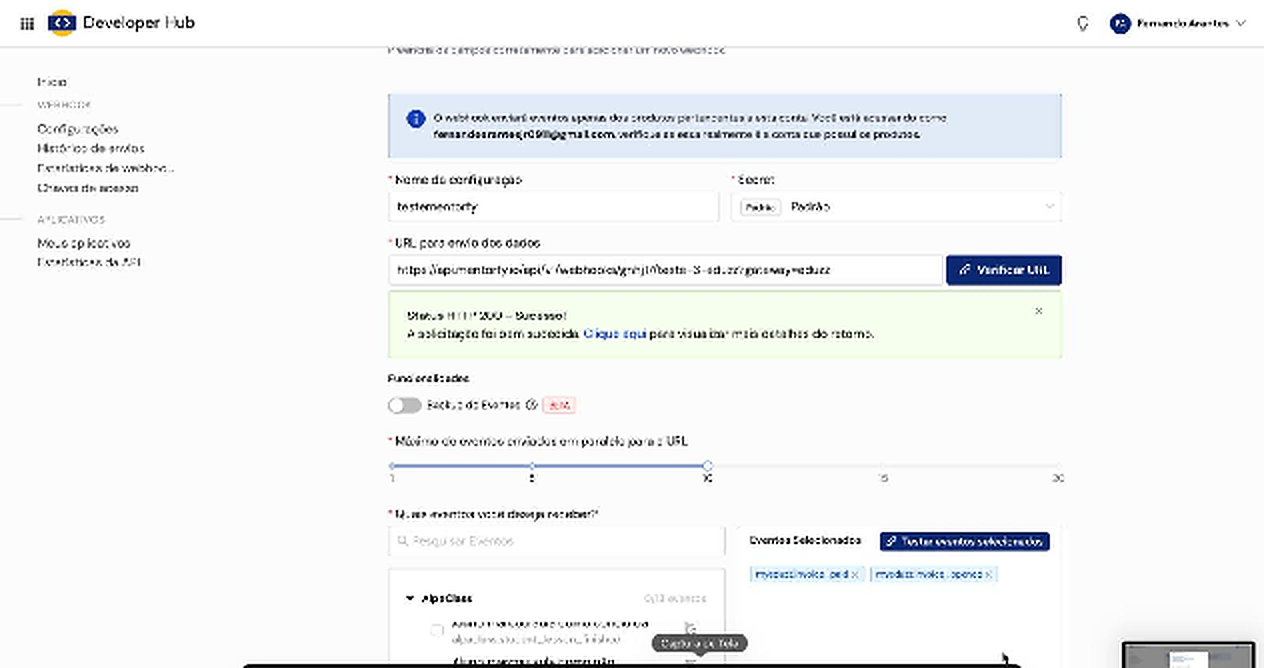
After filling in the URL, click the "Verify URL" button. Wait for the status confirmation before proceeding.
✔ If the URL is valid, it will show: "HTTP Status 200 – Success!". Otherwise, review the URL and try again.
Step 6 — Select the desired events
In the "Which events do you want to receive?" section, search or browse the available categories (AlpaClass, MyEduzz, SafeVideo, Nutror, Blinket, etc.) and select the events relevant to your integration. The selected events appear in the right panel "Selected Events".
✔ Example of useful events: myeduzz.invoice_paid (payment made) and myeduzz.invoice_opened (invoice opened).
Step 7 — Test the selected events
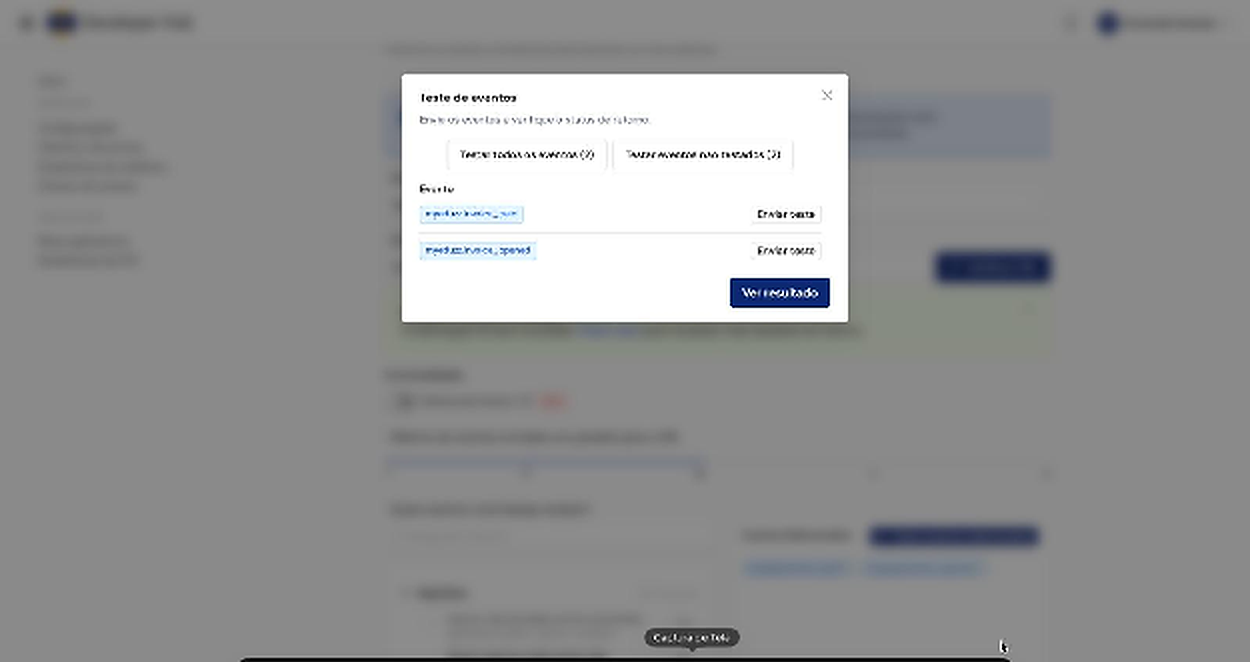
Click "Test selected events" in the right panel. An Event Test window will open with the options:
- Test all events — sends a test for all selected events
- Test untested events — sends only for those not yet tested
- Send test (per event) — tests each event individually
After sending the tests, click "View result" to check the result.
Step 8 — Check the test results
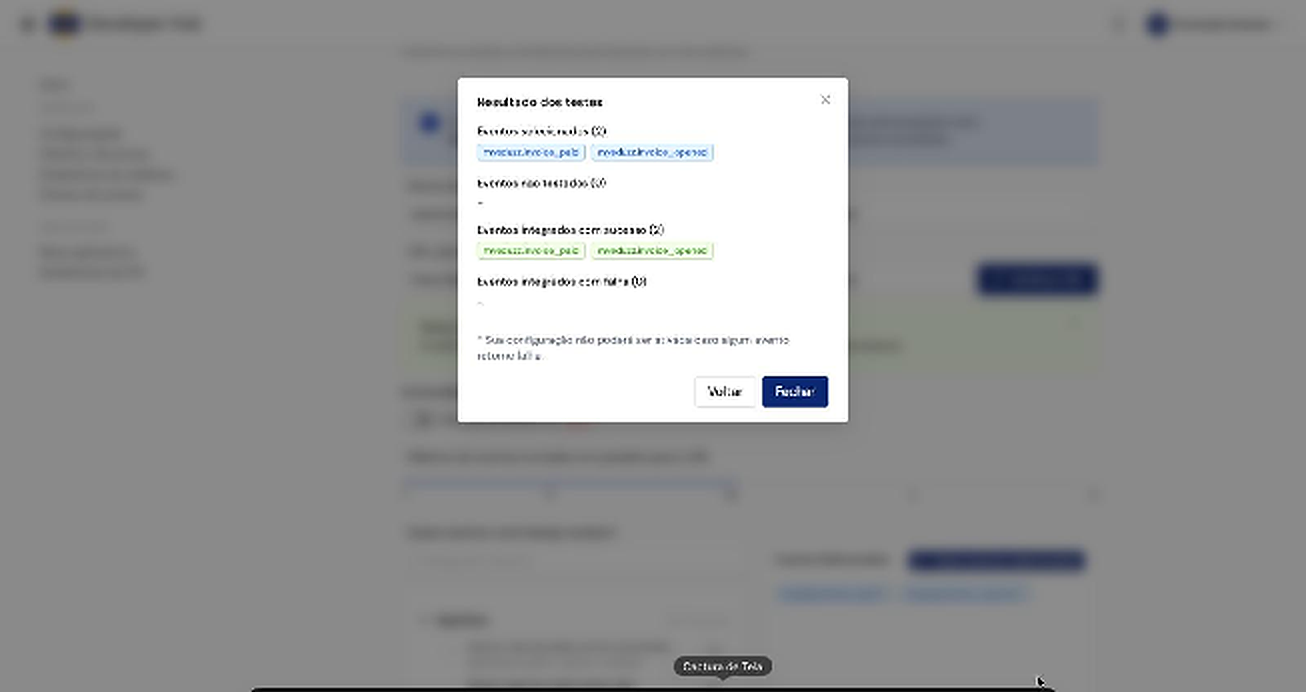
The "Test results" window will display a summary with:
- Selected events — list of configured events
- Untested events — events that did not receive a test
- Successfully integrated events — confirmed with positive return
- Failed integration events — events that returned an error
⚠ If any event returns a failure, the configuration cannot be activated. Fix the problem before proceeding.
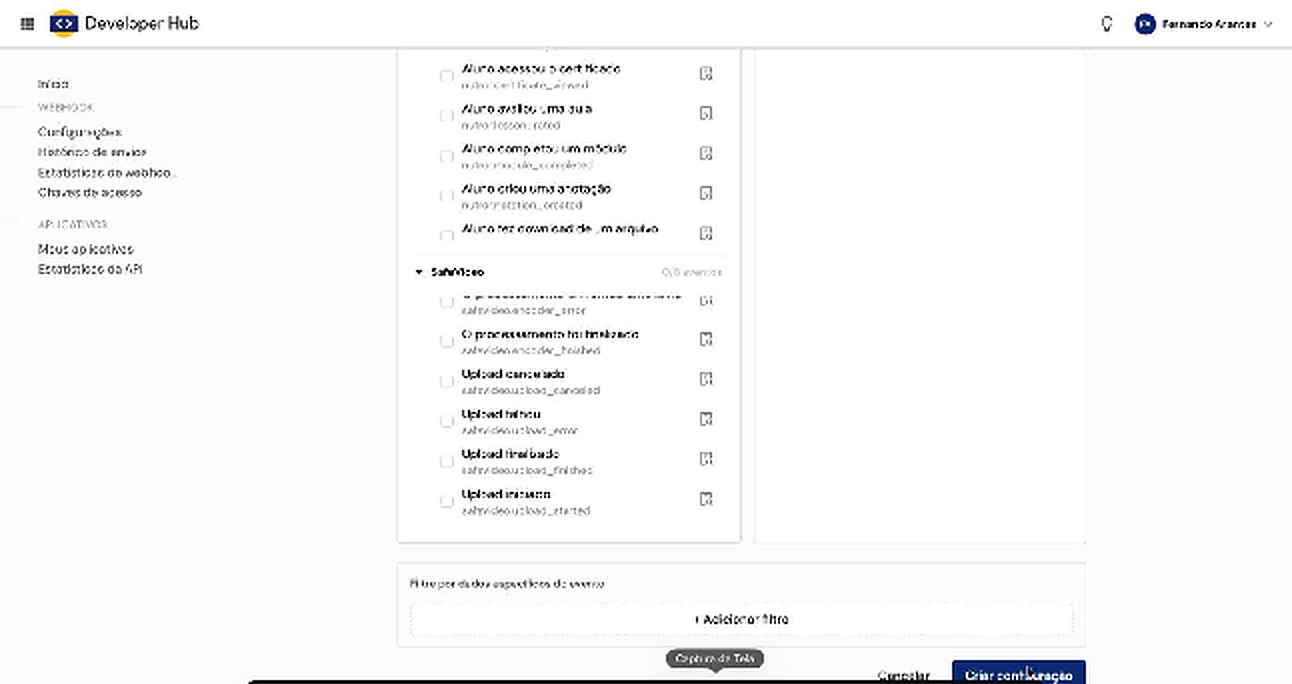
Step 9 — Finalize by creating the configuration
With all tests successfully validated, close the results modal and click the "Create configuration" button at the bottom of the page to save and activate your webhook.
✔ Your configuration will appear in the Developer Hub list, ready to receive and process events!
Steps Summary
- Access MyEduzz → Advanced → Webhooks
- Access the Developer Hub via the migration banner
- Create a new webhook configuration
- Fill in name, Entry URL, parallel limit and secret
- Verify the URL (HTTP 200 = success)
- Select the desired events
- Test the events and submit the tests
- Check the result — all must be successfully integrated
- Click "Create configuration" — done!