LastLink
Follow this step-by-step guide to integrate your sales flow with Mentorfy's delivery flow using LastLink.
Before configuring the webhook in LastLink, create an Entry URL in Mentorfy. This URL defines which products, categories, or classes will be unlocked when LastLink confirms a purchase.
-
In Mentorfy, go to Integrations > Entry and click + New URL.
-
Fill in the URL details:
- In Name, use something easy to identify, such as
LastLink - Product Name. - In Payment Gateway, select LastLink. If the option does not appear, select Generic.
- In Products to Unlock and/or Categories to Unlock, select the access that should be granted after the purchase.
See the full step-by-step at How to create an Entry URL.
-
Click Create and then use the Copy action to copy the generated Entry URL.
-
Log in to your LastLink account and access the product that should trigger the webhook.
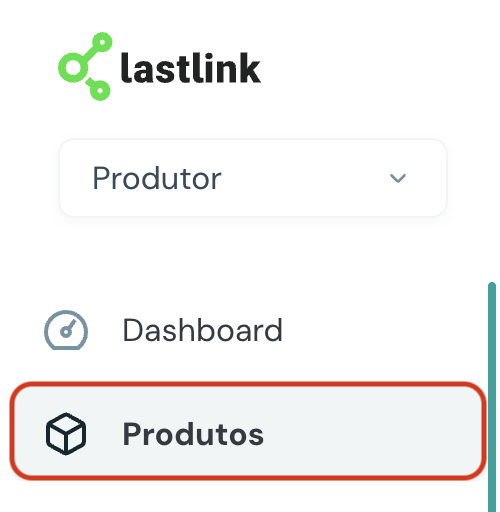
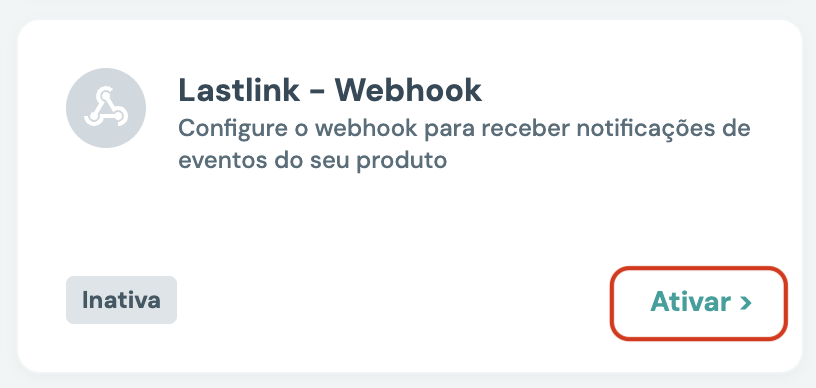
- In the product sidebar menu, click Integrations. Search for Lastlink - Webhook and click Activate.

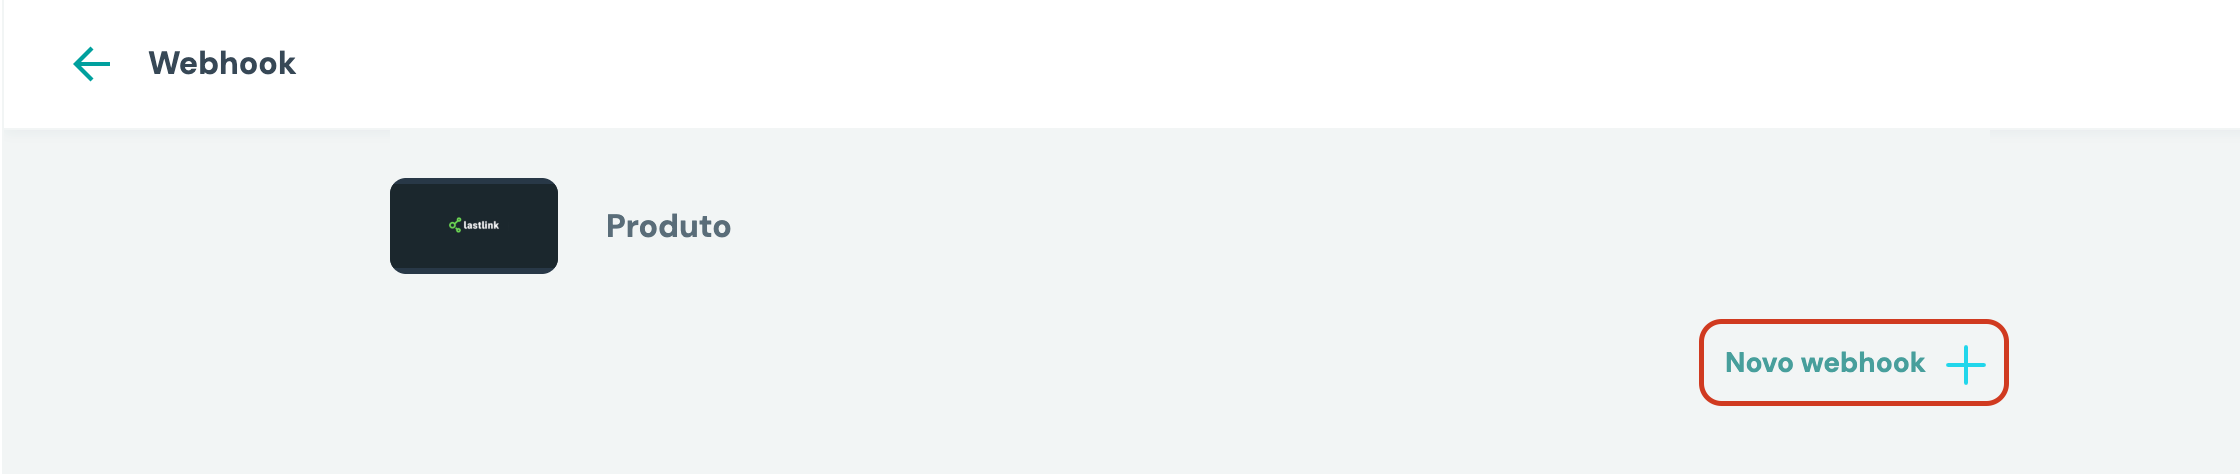
- With the integration active, click New webhook in the upper right corner.
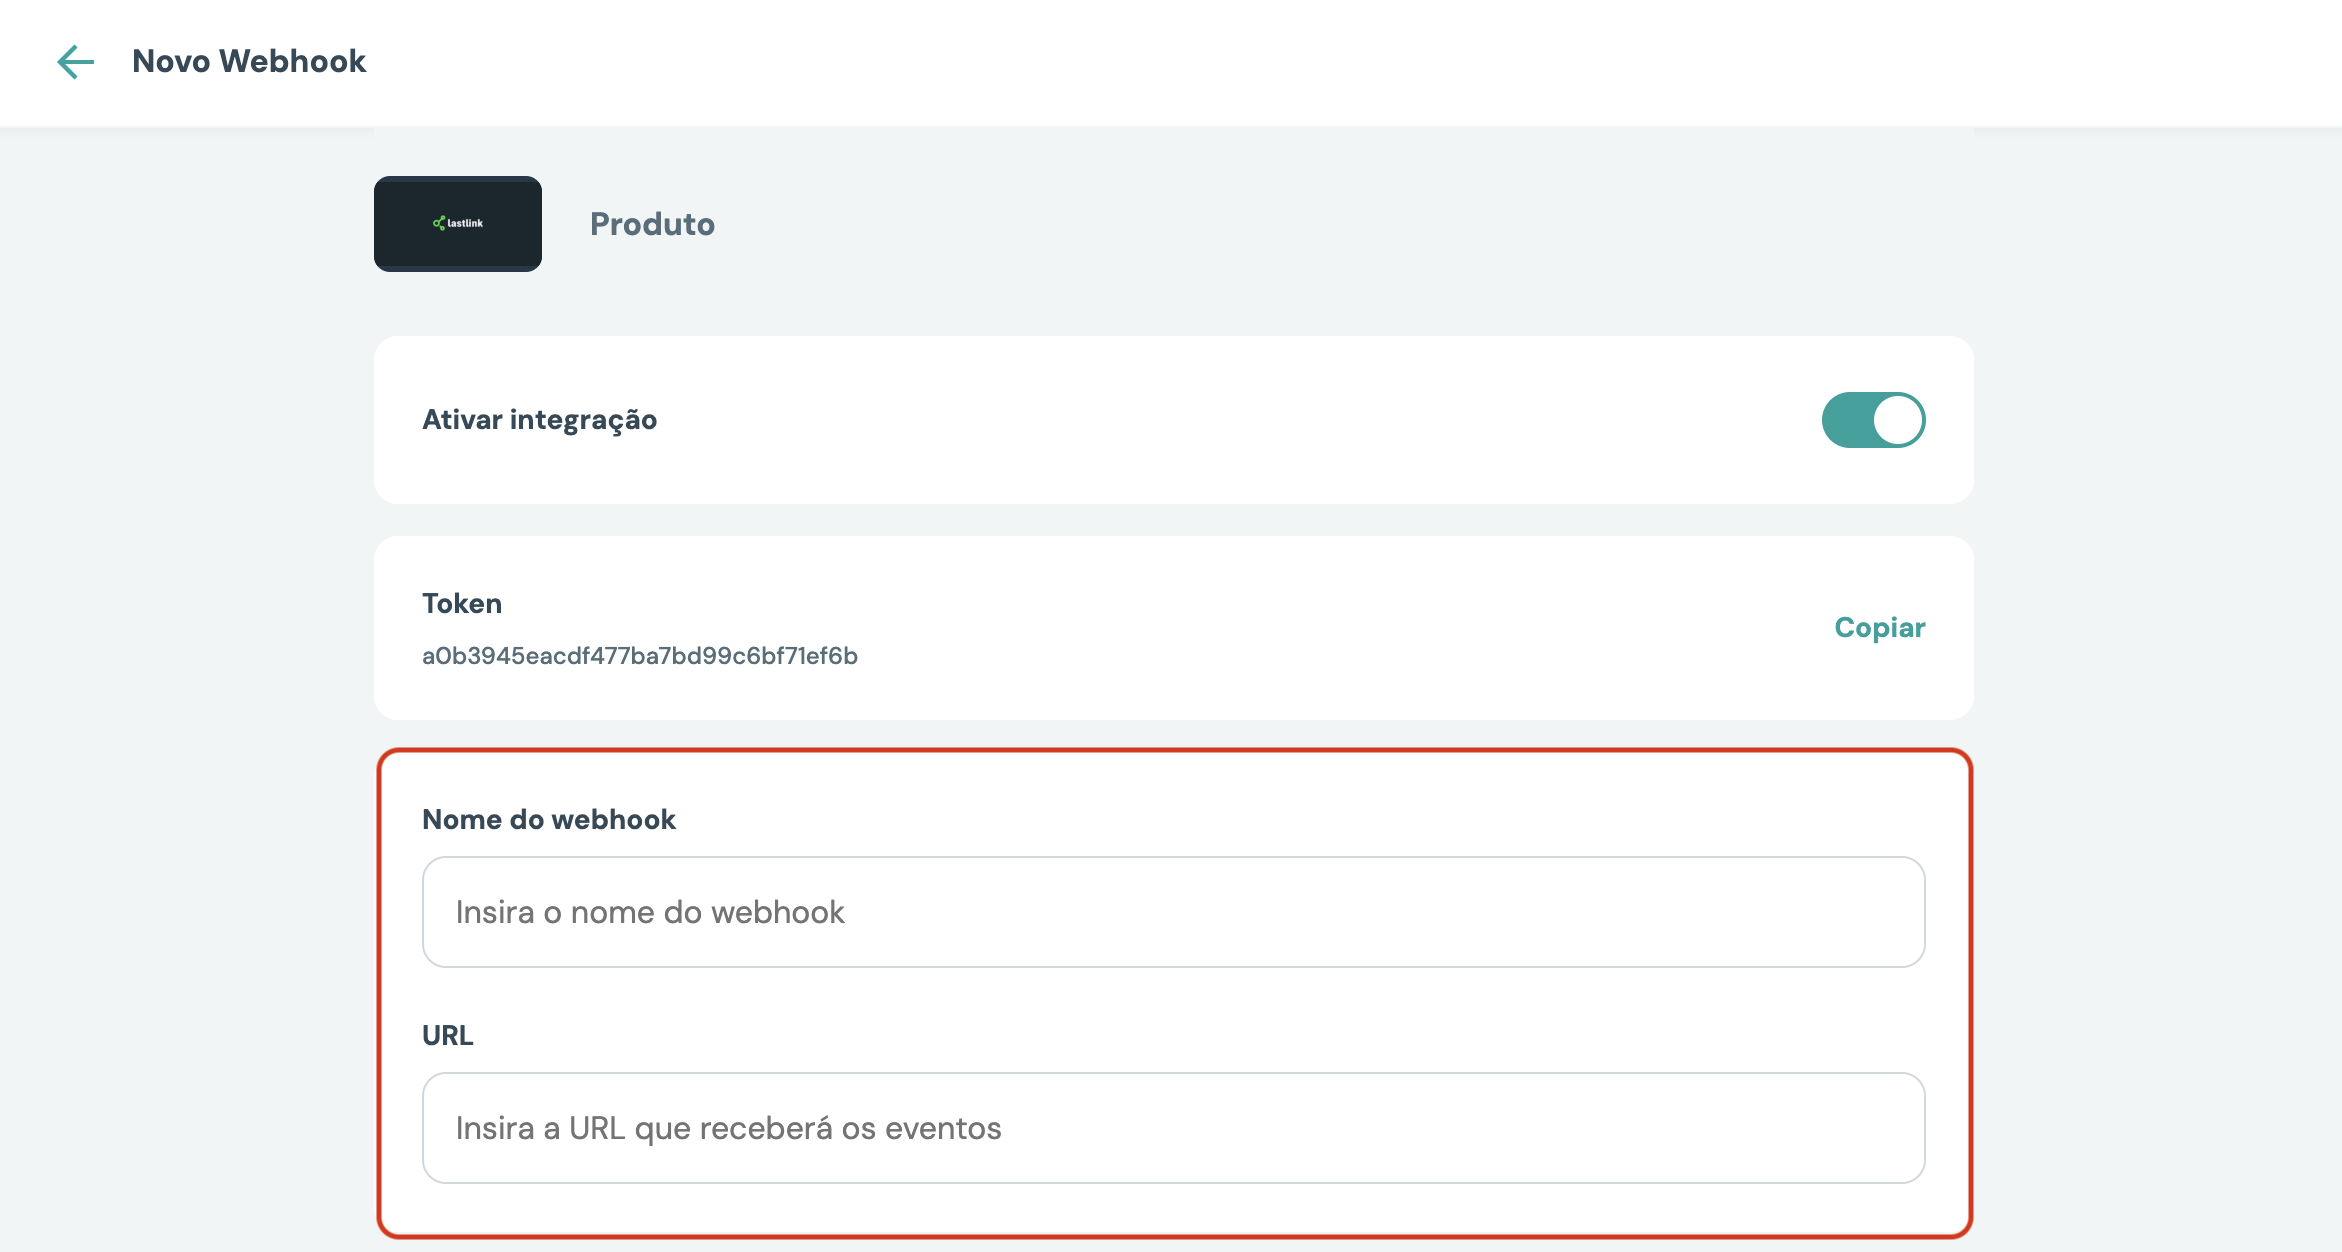
- Fill in the webhook details:
- In Webhook name, use an easy-to-identify name, such as
Mentorfy. - In URL, paste exactly the Entry URL copied from Mentorfy.
- In the Events section, click Select to choose the events that Mentorfy should receive.

Recommended events for granting, updating, or removing access:
Purchase_Order_ConfirmedRecurrent_PaymentProduct_Access_StartedProduct_Access_EndedSubscription_ExpiredPayment_RefundPayment_ChargebackActive_Member_NotificationSubscription_Product_Acess
LastLink uses the spelling Subscription_Product_Acess for this event name. If this option appears in the dashboard, select it exactly as displayed.
After selecting the desired events, click Confirm.
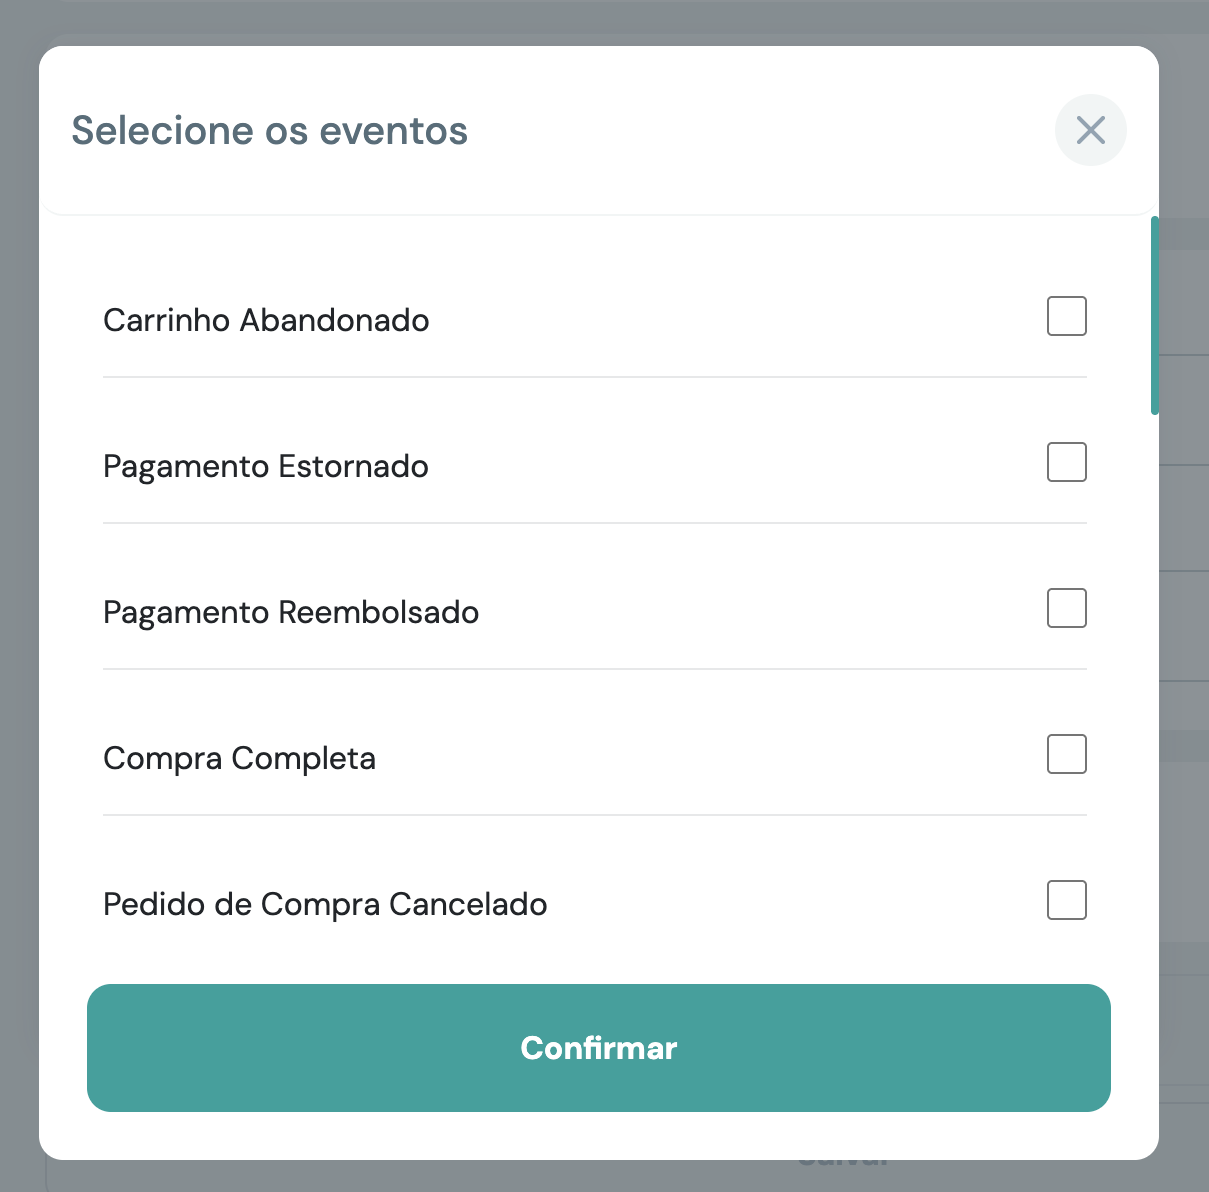
- Before saving, you can click Test to check if the registered URL responds correctly. To finish, click Save.

Testing the integration
After configuring the webhook in LastLink and Mentorfy:
- Make a test sale or use a test event available in LastLink.
- Check if the event appears in Mentorfy's integration logs.
- Confirm whether the customer appears in the journey and in Mentorfy's customer list.
- If access is not granted, check that the Entry URL copied from Mentorfy is correct and that the recommended events were selected.
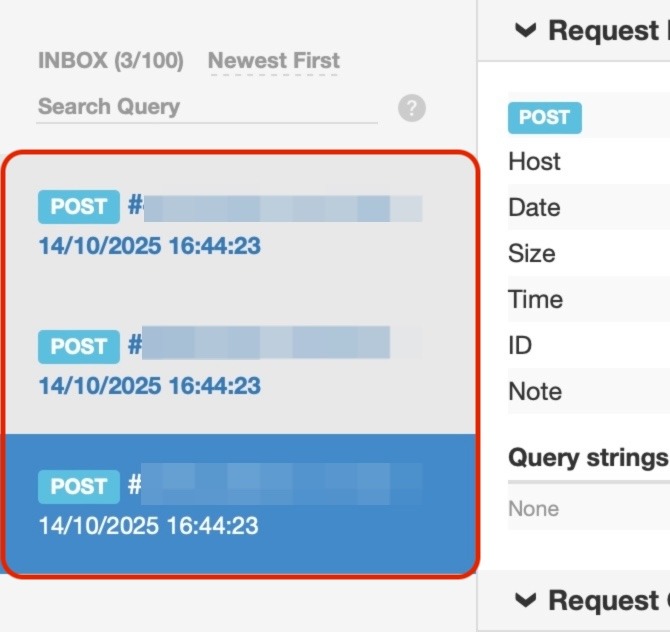
If you want to view the technical content sent by LastLink, use a tool like Webhook.site for testing only. To grant real access, the URL must be the Mentorfy URL.
Conclusion
Once you complete these steps, the integration will be complete and you will be able to see your customers in the journey and in your customer list in Mentorfy.
If you have any questions, contact our support via the chat on the platform or by email at contato@mentorfy.io