Brand Studio
Brand Studio is the area in Mentorfy where you configure the visual identity of your app — name, logo, color palette, and features. Each brand created here defines how your app will be presented to your students.
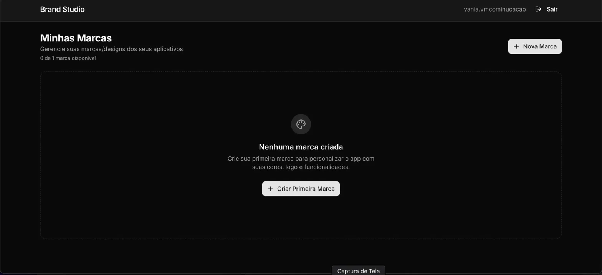
The home screen displays all brands linked to your account. The current plan allows 1 available brand.
How to create your brand
Step 1 — Start the creation
On the Brand Studio home screen, click "+ New Brand" in the top right corner or "+ Create First Brand" in the center of the screen.
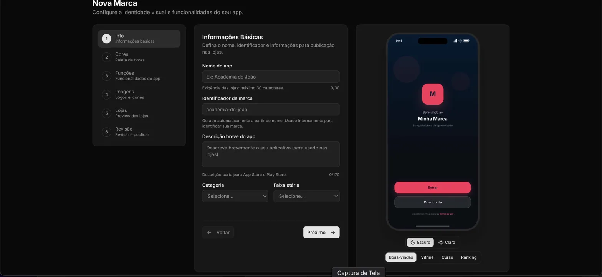
The creation form is divided into 6 steps: Info, Colors, Features, Images, Stores, and Review.
On the right side of each step, a real-time preview shows how the app will look visually. Toggle between Dark Mode and Light Mode to see both versions.
Step 2 — Basic Information
App name — Enter the name that will be displayed to your students and in the stores.
- Maximum of 30 characters (store requirement)
Brand identifier — Automatically generated from the name. Used internally by the platform.
Short app description — Text used in the App Store and Play Store.
- Maximum of 170 characters
Category — Select the category that best represents your app.
Age range — Select the target audience age range.
Click "Next" to proceed.
Step 3 — Color Palette
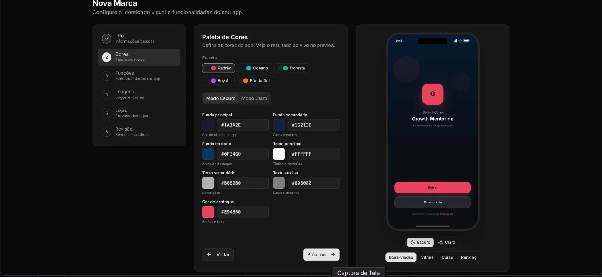
Available presets — Choose a pre-defined theme to automatically fill all colors: Default, Ocean, Forest, Royal, or Sunset.
Dark Mode / Light Mode — Configure the palette separately for each mode by switching between the tabs.
Configurable colors
| Field | Description |
|---|---|
| Primary background | Dominant color of the app |
| Secondary background | Cards and panels |
| Tertiary background | Highlight areas |
| Primary text | Titles and content |
| Secondary text | Descriptions |
| Auxiliary text | Dates and details |
| Accent color | Buttons and links |
Click on any field to enter a hexadecimal code or choose the color visually.
Click "Next" to proceed.
Step 4 — Features
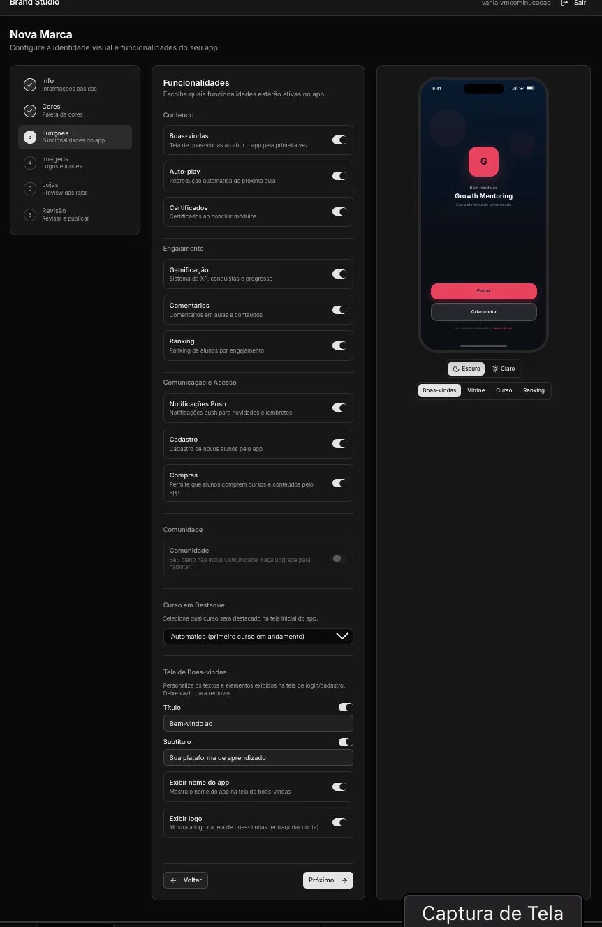
Choose which features will be active in your app.
Content
- Welcome — welcome screen when opening the app for the first time
- Auto-play — automatic playback of the next lesson
- Certificates — certificate issuance upon completing modules
Engagement
- Gamification — XP system, achievements, and progress
- Comments — comments on lessons and content
- Ranking — student ranking by engagement
Communication and Access
- Push Notifications — notifications for news and reminders
- Registration — new student registration through the app
- Purchases — allows students to buy courses and content through the app
Community
- Available only on higher plans. Upgrade to enable.
Featured Course — Select which course will be highlighted on the home screen. Default: Automatic (first course in progress).
Welcome Screen — Customize the texts displayed on the login/registration screen:
- Title (e.g.: Welcome to)
- Subtitle (e.g.: Your learning platform)
- Show app name
- Show logo
Click "Next" to proceed.
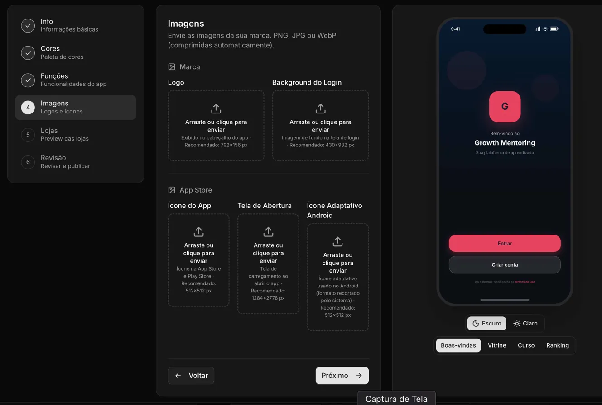
Step 5 — Images
Upload your brand images. Accepted formats: PNG, JPG, or WebP. Images are automatically compressed.
Brand
| Image | Description | Recommended size |
|---|---|---|
| Logo | Displayed in the app header | 792×156 px |
| Login Background | Background image on the login screen | 430×932 px |
App Store
| Image | Description | Recommended size |
|---|---|---|
| App Icon | Icon in the App Store and Play Store | 512×512 px |
| Splash Screen | Loading screen when opening the app | 1284×2778 px |
| Android Adaptive Icon | Icon cropped by the Android system | 512×512 px |
Click "Next" to proceed.
Step 6 — Store Preview
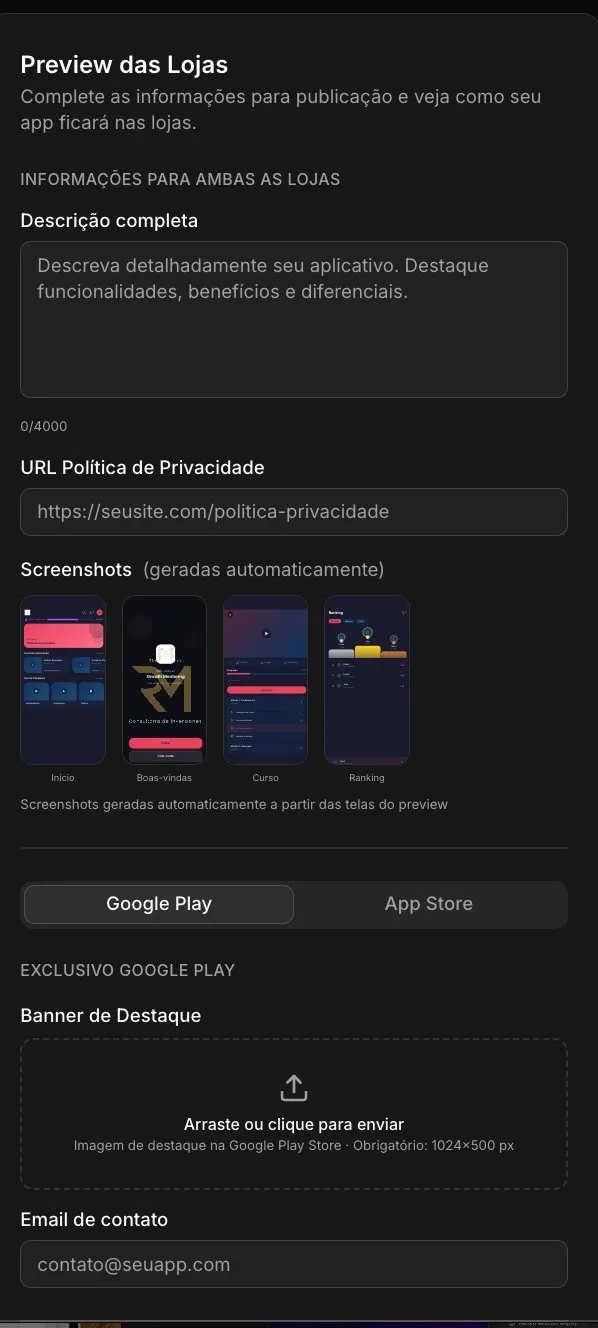
Information for both stores
- Full description — describe your app in detail (maximum 4000 characters)
- Privacy Policy URL — link to your privacy policy page
- Screenshots — automatically generated from the preview screens (Home, Welcome, Course, and Ranking)
Google Play exclusive
- Feature Banner — highlight image on Google Play Store (required: 1024×500 px)
- Contact email — support email displayed on the app page
Switch between the Google Play and App Store tabs to fill in the specific information for each store.
Click "Next" to proceed.
Step 7 — Review
Check the complete summary of all settings before publishing:
- Info — name, identifier, description, category, and age range
- Colors — palette in dark and light modes
- Features — active features
- Images — logo, background, icon, and splash screen
- Stores — description, privacy policy, banner, and email
If you need to adjust something, click "Back" to return to the desired step.
After confirming everything, click "Publish" to finalize the creation of your brand.
The published brand will be applied to your app. You can edit the settings at any time through Brand Studio.