AI Studio
Generate Image
1. Describe the image
In the "Describe the image" field, enter a detailed prompt explaining what you want to generate.
Tips for better results:
- Be specific (scene, colors, lighting, style, elements)
- Include visual references (e.g.: "futuristic style", "soft light", "minimalist environment")
- Avoid overly generic descriptions
Example: "A dark empty scene with soft blue lighting and beams of light coming from the top, futuristic style"
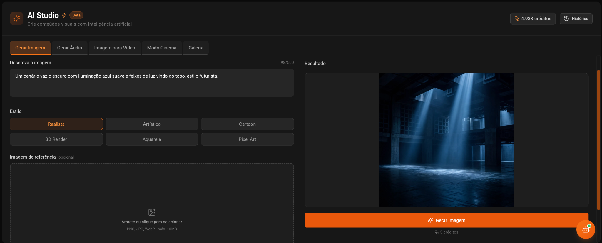
2. Use suggestions (optional)
Click on the ready-made suggestions available below the field to inspire or complement your prompt.

3. Choose the image style
Select the desired visual style: Realistic, Artistic, Cartoon, 3D Render, Watercolor, or Pixel Art. The style directly influences the final appearance of the generated image.

4. Add a reference image (optional)
Click or drag a file to the indicated area.
- Accepted formats: PNG, JPG, WebP
- Maximum size: 10MB
The reference image helps the AI maintain visual patterns, composition, or identity.
5. Generate the image
After configuring all parameters, click "Generate Image" and wait for processing. The result will be displayed in the panel on the right.
Each generation consumes credits from your account.
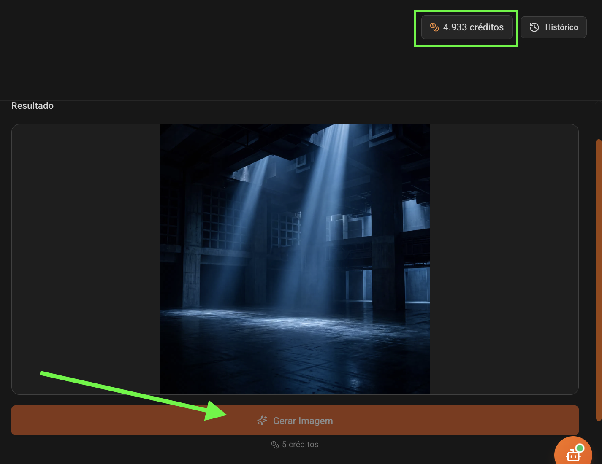
6. View results
The most recent result appears highlighted. Below it, you will find thumbnails of previously generated images to reuse ideas or adjust prompts.

Generate Audio
AI Studio offers three audio generation modes: Text to Speech, Voice to Voice, and Text to Music.
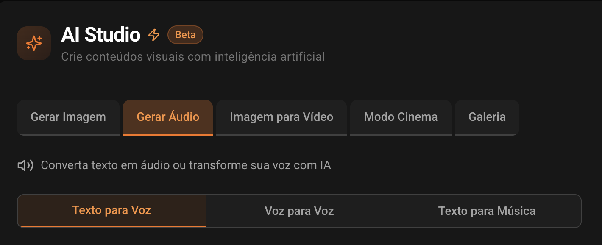
Text to Speech
1. Enter the text
In the "Text" field, type the content you want to convert to audio.
- Use proper punctuation to improve the naturalness of speech
- Avoid very long texts without pauses
- Review the content before generating
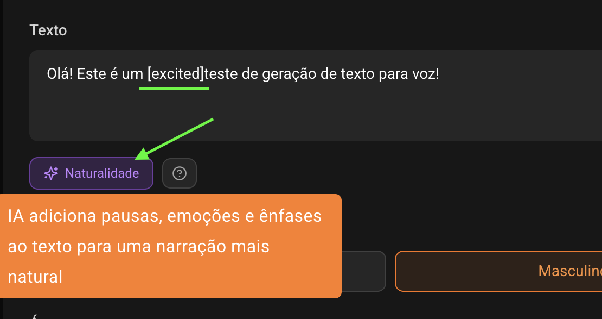
2. Adjust voice naturalness
The Naturalness control defines how fluid and expressive the narration will be.
- Higher values: more natural and expressive voice
- Lower values: more direct and objective voice
3. Define the voice gender
Choose between Female or Male.
4. Select the application area
Choose the audio context to adjust the speaking style: Education, Corporate, Marketing, Podcast, Narrative, or Journalism.
5. Listen to a preview (optional)
Click "Listen to this voice" to hear a sample before generating the final audio.

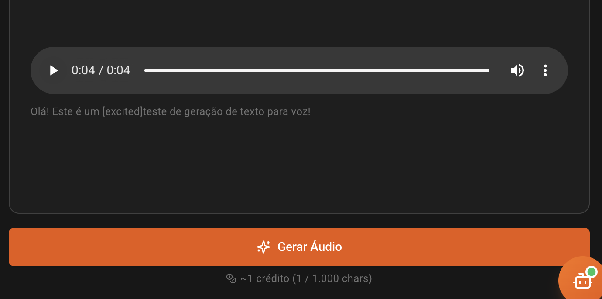
6. Generate the audio
Click "Generate Audio" and wait for processing. The result will be displayed in the panel on the right with a playback player.
Credit consumption is proportional to the number of characters used.
Voice to Voice
1. Record the audio
In the "Recording" section, click "Click to record", allow microphone access, and record your speech directly on the platform.

2. Define the target voice
In the "Target voice" field, select how the voice will be transformed. The Automatic option adjusts the voice based on the selected gender.
3. Configure gender and area
Choose the voice gender and application area, just as in Text to Speech mode.
4. Generate the result
Click "Generate Audio" and wait. The converted audio will be displayed in the player on the right.
Credit consumption may vary depending on the recording duration.
Text to Music
1. Describe the music
In the "Description" field, write how you imagine the music you want to generate.
- Mention the musical genre (electronic, acoustic, orchestral, lo-fi...)
- Describe the rhythm or energy (upbeat, relaxing, intense, gentle)
- Indicate the use context (gym, meditation, corporate presentation)
Example: "Upbeat electronic music for the gym, with energetic beats"
The field accepts up to 450 characters.
2. Define the duration
Use the slider to choose the length of the generated music.
- Minimum: 3 seconds
- Maximum: 10 minutes
- Default: 30 seconds
3. Generate the music
Click "Generate Audio" to start the generation.
Each generation consumes 5 credits.
4. Results and history
The generated audio is available in the player for immediate playback. In the "Previously generated" section, you will find music created in previous sessions with date and time of creation.
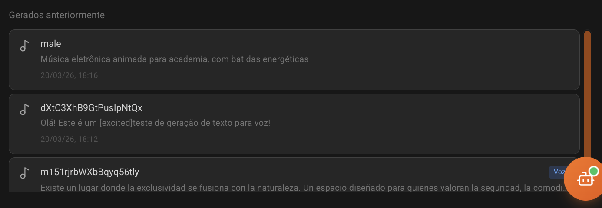
Image to Video
The Image to Video feature transforms a static image into an animated video with movement generated by artificial intelligence.
1. Upload the reference image
Click or drag a file to the indicated area.
- Accepted formats: PNG, JPG, WebP
- Maximum size: 10MB
2. Describe the desired movement
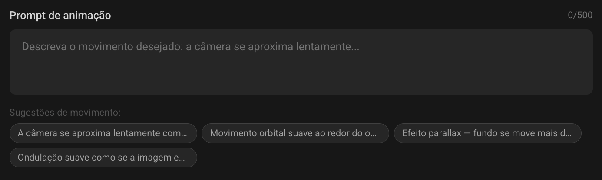
In the "Animation prompt" field, describe how you want the image to move. The field accepts up to 500 characters.
Available movement suggestions:
- The camera slowly approaches with a slight zoom-in
- Smooth orbital movement around the central object
- Parallax effect — background moves slower than the foreground
- Gentle rippling as if the image were underwater
3. Choose the duration
Select between 5 and 10 seconds.
4. Motion Control (optional)
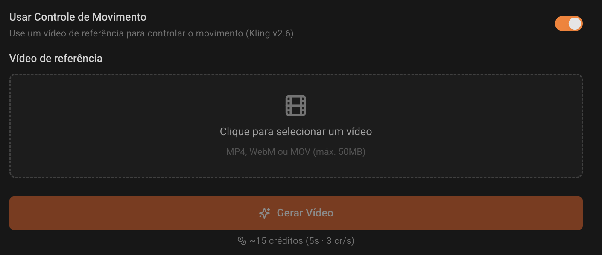
Enable "Use Motion Control" to use a reference video that will guide the type of movement applied. Uses Kling v2.6 technology.
5. Generate the video
Click "Generate Video".
Approximate cost: ~15 credits for 5s (3 credits per second).
6. Result
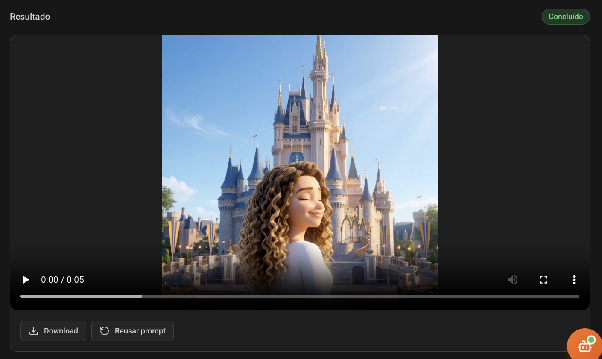
After generation (status "Completed"), you can Download the video or click "Reuse prompt" to reuse the settings.
Cinema Mode
Cinema Mode allows you to assemble a complete storyboard and generate videos scene by scene with artificial intelligence.
Step 1 — Add scenes
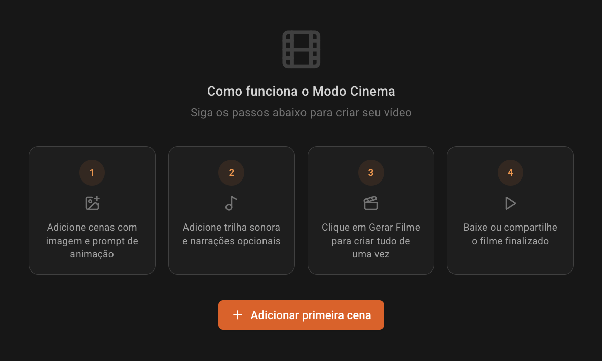
Click "+ Add first scene" to begin. For each scene, insert a reference image and write an animation prompt describing the desired movement.
Step 2 — Add soundtrack and narrations
Complement the video with a background soundtrack and optional narrations per scene.
Step 3 — Generate the film
Click "Generate Film" to process all scenes at once. The AI will animate each scene and assemble the complete video automatically.
Step 4 — Download or share
After generation, download the finished film or share it directly through the platform.